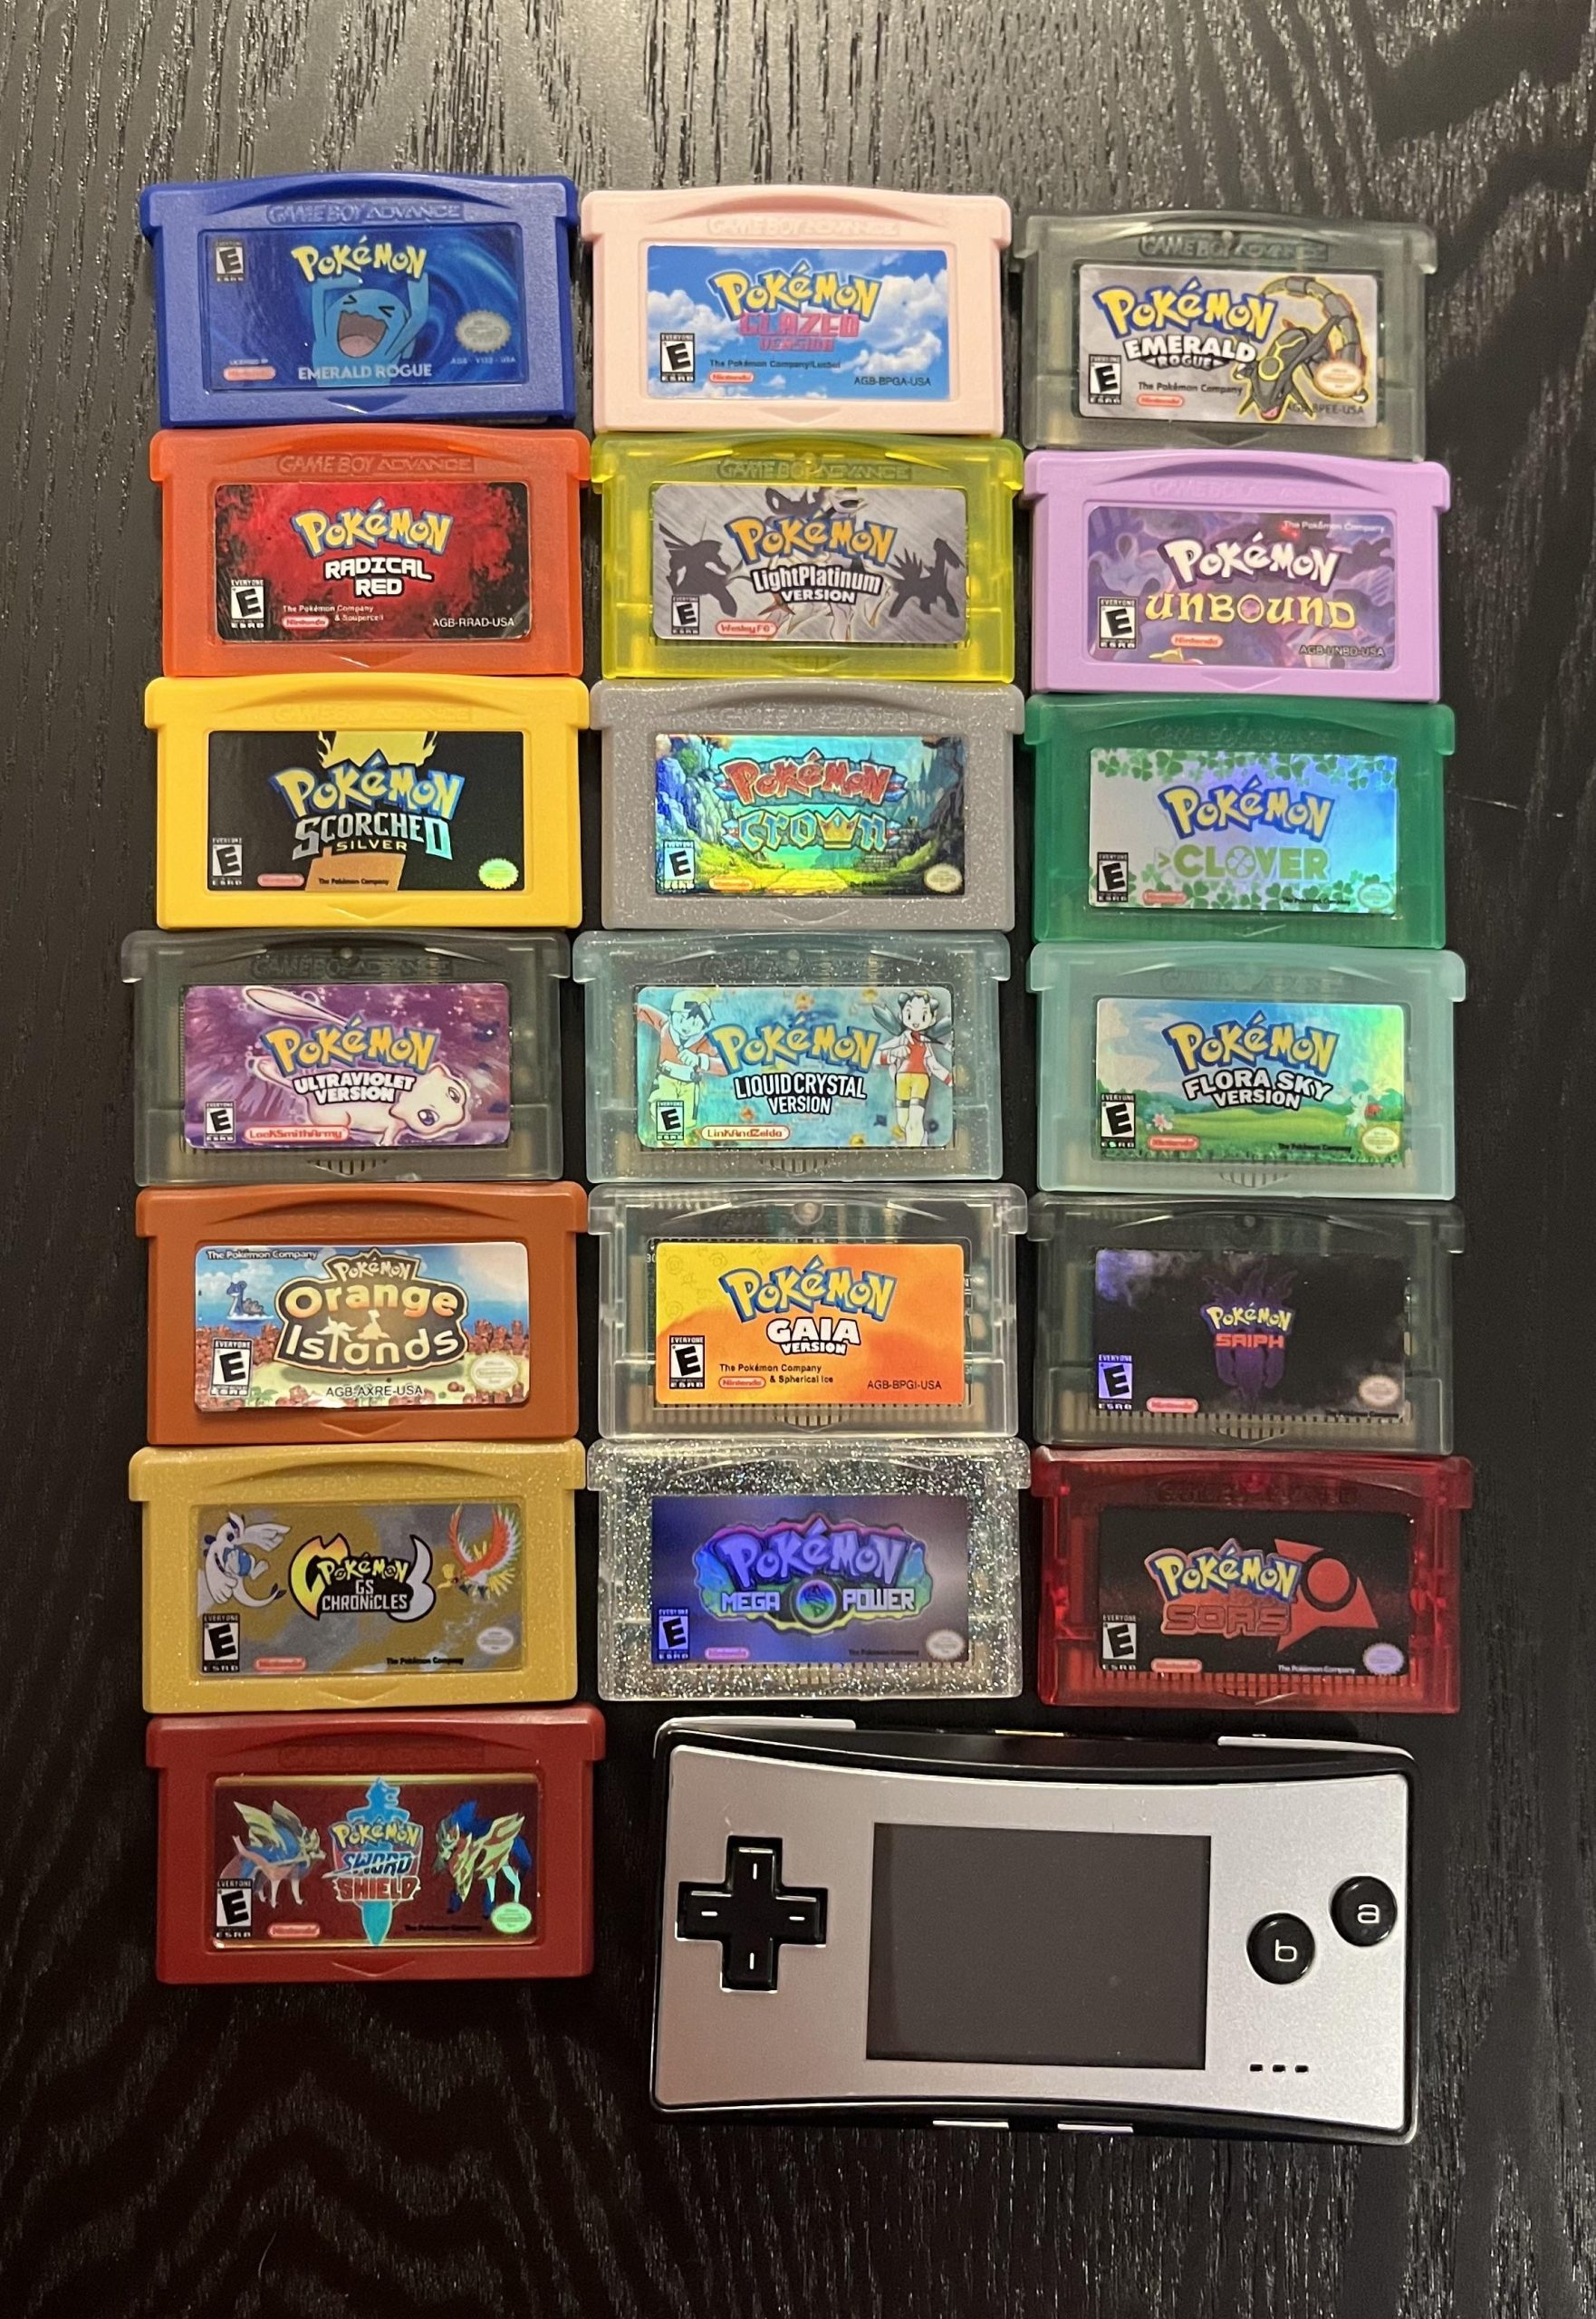
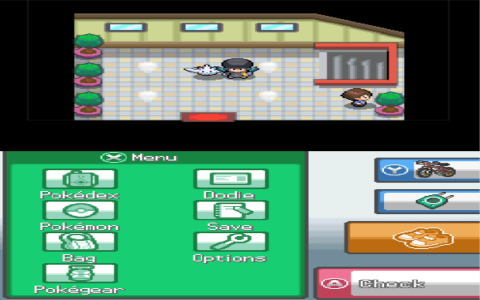
Getting Started Felt Overwhelming
So, honestly, when I first saw folks playing hacked Pokemon DS games, I thought it looked super cool but also totally complicated. Like, how do you even start messing with the actual game files? I had no clue. But, figured it was worth a shot after reading a couple forum posts. Grabbed my trusty old laptop and dove in.
The Gear You Absolutely Need First
Quickly realized you need a few basics before doing anything else:
- A clean Pokemon DS Rom file. Obviously, you gotta dump this from your own cartridge. Mine was sitting in a dusty drawer, luckily.
- A DS Emulator for your PC. Downloaded DeSmuME because people seemed to like it. Seemed straightforward enough.
- The actual “hack tools.” This part had me scratching my head. Searched for “DS Rom hacking tools,” which pulled up a ton of confusing stuff. Eventually landed on SDSME (Super DS Map Editor) for map changes and PPRE (Pokemon Personal RE) for editing Pokemon stats and stuff.
Downloading these felt clunky. Lots of forum links, weird download sites. Patience is key here! Finally got them unzipped into a folder called Pokemon Hack Tools on my desktop – didn’t want to lose these.
Finding the Patch Files
Okay, here’s the part where total newbies (like me!) might stumble. Saw people talking about .ips or .ups files – the patches for the Rom. Went hunting on some fan sites known for Rom hacks. Scrolled through lists feeling lost until I spotted one titled “FireRed Remastered” – seemed perfect for a first try.

Downloaded that .ups patch file. Super important to note exactly which base Rom it’s for! Mine needed Pokemon Fire Red (US). Renamed my Rom file * just so I wouldn’t accidentally break it.
Applying the Hack Patch
Alright, tools ready, patch downloaded, clean Rom dumped. Now what? Needed a way to merge them.
- Searched online for a “UPS patcher.” Found a tiny little program called NUPS.
- Launched NUPS, got a blank screen – confusing at first. Had to click “Apply Patch.”
- A pop-up asked for the Patch file – selected my
*. - Next, it asked for the clean Rom file – chose
*. - Then, it asked where to save the new hacked Rom. Saved mine as
*.
Clicked “Patch.” Saw a little loading bar. Held my breath for a second… then “Patch Applied Successfully!” Sweet.
Testing in the Emulator
The moment of truth. Fired up DeSmuME.
- Clicked “File,” then “Open ROM.”
- Navigated to
*and opened it.
The familiar Nintendo logo popped up. So far so good. Then, bam! Instead of the standard opening, I saw a splash screen with Pixelart and “FireRed Remastered Edition”! Felt pretty awesome. Picked my starter – yep, the base starters were replaced like the hack promised. Started exploring, and saw new maps right off the bat. Success!
A Few Speedbumps I Hit
Wasn’t perfectly smooth sailing, gotta be real.
- First patch file I downloaded somehow corrupted my Rom. Learned to always keep a backup of the untouched one!
- The emulator settings needed tweaking. Frame skipping was off, game ran slow. Tinkered with the settings under Config until it ran smoothly.
- Trying a different hack later, the patcher failed. Turns out the patch was for a slightly different version of the Rom. You really gotta match versions exactly.
Patience and double-checking the forum posts saved me.
Final Thoughts For New Hackers
Honestly, jumping into Pokemon Rom hacking seemed scary complex at first glance. But breaking it down step-by-step? Totally doable, even for a tech-anxious guy like me.
You need:
- Your OWN dumped Rom.
- An Emulator.
- The right hack tools for your version.
- The actual Patch file for your specific Rom.
- A patching tool like NUPS.
Follow the steps – dump, find patch, apply patch carefully, save the new file, load in emulator. Don’t skip keeping backups. Messed up my first try but the second one clicked.
Seeing that custom opening screen pop up made the little frustrations worth it. Ready to try my hand at actually making some basic hacks next time!
