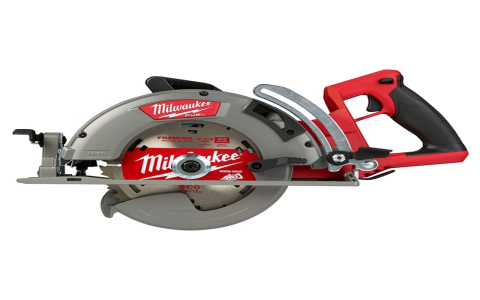
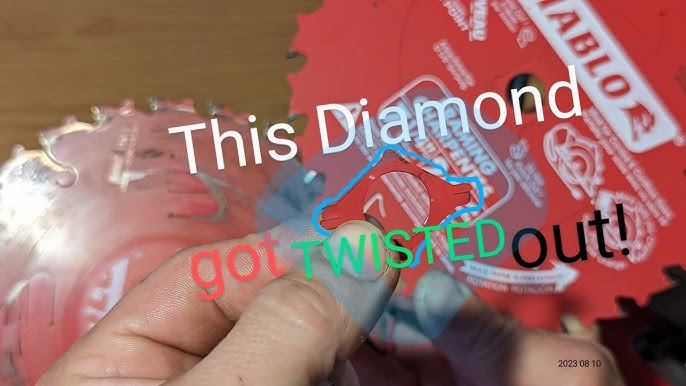
Alright folks, gather ’round because today’s adventure was a real knuckle-buster. Let me tell you exactly how I dealt with my trusty Diablo 7 1/4 inch blade deciding it wanted to be permanently attached to my circular saw. What a nightmare.
The Dreaded Stuck Situation
So there I was, ready to swap blades after a big project. Hit the arbor lock button, grabbed my wrench, went to loosen the nut… and nothing. Absolutely nothing. Wouldn’t budge. Like it was welded on. I pushed harder, straining my wrist. Still stuck. Tapped the wrench handle with a hammer – just made scary clanging noises. Okay, this was bad.
No More Messing Around
First thing: UNPLUG THE DAMN SAW. Seriously, folks. No shortcuts here. Safety glasses? On. Gloves? Double-checked. That blade wasn’t playing nice.
Thinking maybe heat was the answer? Nah. Too risky messing with the saw’s guts and tempering. Cold? Didn’t seem right either. Time for brute force and clever tricks.
Gearing Up For Battle
I grabbed my arsenal:
- A bigger wrench – a long, fat one for serious leverage.
- Penetrating oil – the good stuff, not that cheap junk.
- A solid block of wood – to jam the blade teeth without wrecking ’em.
- Rubber mallet – for the gentle persuader method later.
- My other arbor wrench – just in case.
- Vise grips – my last resort.
Operation: Free The Blade
Here’s the messy blow-by-blow:
- Smashed that block of wood hard against the blade teeth so it wouldn’t spin when I pushed.
- Squirted the heck out of the arbor nut and shaft threads with the oil. Let it soak for a solid ten minutes, did it again. Felt like forever.
- Cranked the arbor lock button hard. Really wedged the lock in place. Fingers crossed.
- Slapped the big wrench on the nut. Put my whole dang body into it. Started pushing down slow and steady. Heard metal groaning… my hands were shaking like crazy.
- CRACK! That beautiful sound! The nut finally gave way and spun loose. Thank god.
- Pulled the nut and outer washer off. But wait – the blade still wouldn’t slide off! Felt stuck on the shaft.
- Gave the blade hub a few sharp taps around the edges with the rubber mallet. Not hard, just shockwaves. Also tapped the arbor shaft lightly from the back. Heard a tiny ‘ping’. That did it.
- Finally! Slid that stubborn blade right off. Cleaned the oily gunk off the shaft and threads immediately.
Putting Humpty Dumpty Back Together
Easy part now, but gotta do it right:
- Grabbed my shiny new Diablo blade (lesson learned – always have a spare ready).
- Wiped down both sides, made sure it was clean and sharp.
- Dabbed a tiny, tiny bit of anti-seize on the clean arbor shaft threads. Don’t goop it on!
- Slid the new blade onto the shaft, arrow pointing the right way (obviously!).
- Put the outer washer back on, threaded the nut on finger-tight.
- Engaged the arbor lock again, solid.
- Cranked the nut down snug with the wrench, but didn’t go Hulk mode. Just firm.
- Gave the blade a wiggle. Rock solid, seated right. Perfect.
Blood, Sweat, and Lessons Learned
Hands were greasy, heart was pounding. That whole “stuck blade” thing eats up hours you don’t plan for. Main takeaways?
- Lubricate the arbor threads occasionally! Prevention is way easier.
- Don’t overtighten the nut! Snug is enough.
- Penetrating oil is your friend. Let it soak!
- Leverage beats muscle. A longer wrench saves your joints.
- Patience. Deep breaths. Rushing leads to broken tools… or fingers.
Yeah, it was frustrating. But that sweet release when it finally came loose? Worth it. And hey, new blade cuts like a dream. Back to work!
