My Frustration With That Damn Ambush
Alright, let’s get real about that Harper Branthis convoy ambush in Baldur’s Gate 3. Man, that fight messed me up SO many times. Seriously, I reloaded that save more times than I care to admit. Picture this: you finally finish that chat with Jaheira, thinking you’re headed for a breather, maybe sell some junk. Boom! Suddenly, you’re surrounded by Harpers popping outta nowhere like angry jack-in-the-boxes with crossbows and fireballs.
My first ten tries? Disaster. Pure chaos. I’d try just charging in, thinking Karlach could tank it, Lae’zel could slice ‘n dice. Wrong. Absolute bloodbath. The positioning is nasty. Half my party starts on low ground, the other half gets instantly surrounded. Felt like trying to stop an avalanche with a tea cup. Crossbows ripped Gale apart before he could mumble “Magic Missile.” Shadowheart went down trying to run toward someone to heal. Karlach got swarmed and just crumpled.
I needed a plan. No more head-on stupid stuff. Time for tricks.
What Actually Worked Like a Charm
Trick #1: Pre-Buff, Pre-Buff, PRE-BUFF!

I stopped rushing into the cutscene trigger. Instead, I paused way back before the bridge. See, that ambush only kicks off when you get close to the convoy wagons.
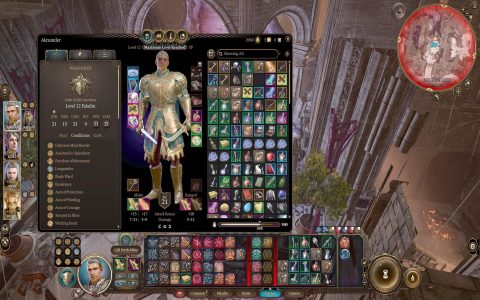
- Before going anywhere near that spot, I cast Mage Armor on Gale. Shadowheart slapped on Shield of Faith on herself and Bless on my two big hitters (Karlach & Lae’zel).
- I moved everyone into position manually. Karlach? Got her sneaking off to the right side behind the rocky hill near where the hidden Harpers jump out. Lae’zel? Up the little slope on the left side, behind cover. Shadowheart hung back near some rocks for cover, and Gale… poor Gale hid behind the biggest rock I could find in the back.
- THIS took a few reloads to perfect spots, figuring where they wouldn’t get instantly spotted as soon as the fight started. Sneak mode is your friend!
Trick #2: Abuse the Environment & Bottlenecks
Okay, ambush triggered. Harpers appear. But THIS time?
- My team wasn’t clustered like helpless sheep. They were spread out and already kinda tucked behind stuff.
- That wagon? BEST thing ever. I shoved Karlach right behind it. It blocked SO many arrows aimed her way. The little rocky outcrops? Perfect for Shadowheart to duck behind while tossing healing word.
- Made them come to me through chokepoints. Trying to swarm Karlach? Tough luck when they have to squeeze past that wagon one by one. Met her greataxe. Tried going for Gale? He was tucked away like a hermit, peeking out only to cast spells then duck back.
Trick #3: Nuke the Spellcasters IMMEDIATELY
Biggest lesson learned the hard way: The Harper spellcasters wreck everything. They love Fireball and Guiding Bolt.
- Turn One Priority: Identify the robe-wearing jerks. Usually one down near the wagon, one up on a ledge somewhere.
- ALL FOCUS FIRE. Forget the guy with the sword trying to poke Karlach. Seriously. I had Gale Magic Missile the caster near the wagon. Lae’zel Action Surged and just sprinted past everyone ELSE to shank the mage on the ledge. Karlach? Threw a javelin at one from behind the wagon.
- Kill them FAST. Doesn’t matter if your damage dealers take some hits getting to them. Letting even one caster get a Fireball off can instantly ruin your whole day. Once those robes are dust? The fight becomes WAY easier.
Putting It Together = Smooth Sailing
So, final run:
Buff up well back from the convoy sneaky spot. Carefully position everyone – Karlach near the right rock hill, Lae’zel left slope, others behind cover. Deep breath. Trigger the ambush.
Boom, chaos starts. But THIS time, my party isn’t surprised pancakes. Gale safely throws Magic Missile at the mage below. Shadowheart Blesses from cover. Lae’zel leaps like a psycho frog up the cliffside and Action Surge-murders the mage up top in one brutal turn. Karlach shoves some idiot fighter into the chasm near her and then turns the one trying to get around the wagon into paste.
With the big spell threats gone instantly? It was basically clean-up duty. Picked off the crossbow guys methodically. Healed when needed. Felt AMAZING. No panic, no frantic reloads after Gale spontaneously combusts.
Seriously, this approach – buffing/positioning before the fight, using the wagon/rocks for cover, and deleting the spellcasters ASAP – it just WORKS. Every single time I’ve done it this way since. Hope it saves your bacon too!
