So today I decided to make some legit One Piece bounty posters for my man cave – total pirate vibes, right? Grabbed some basic crap around my house and got started.
Step 1: Hunting Supplies Like a Marine
Scrounged up printer paper first – regular copy stuff works fine. Found my crappy watercolor set my niece uses plus some black markers. Almost tripped over the cat running for scissors and glue. Tip: raid your kid’s craft drawer before buying anything new.
Step 2: Failed Art Time
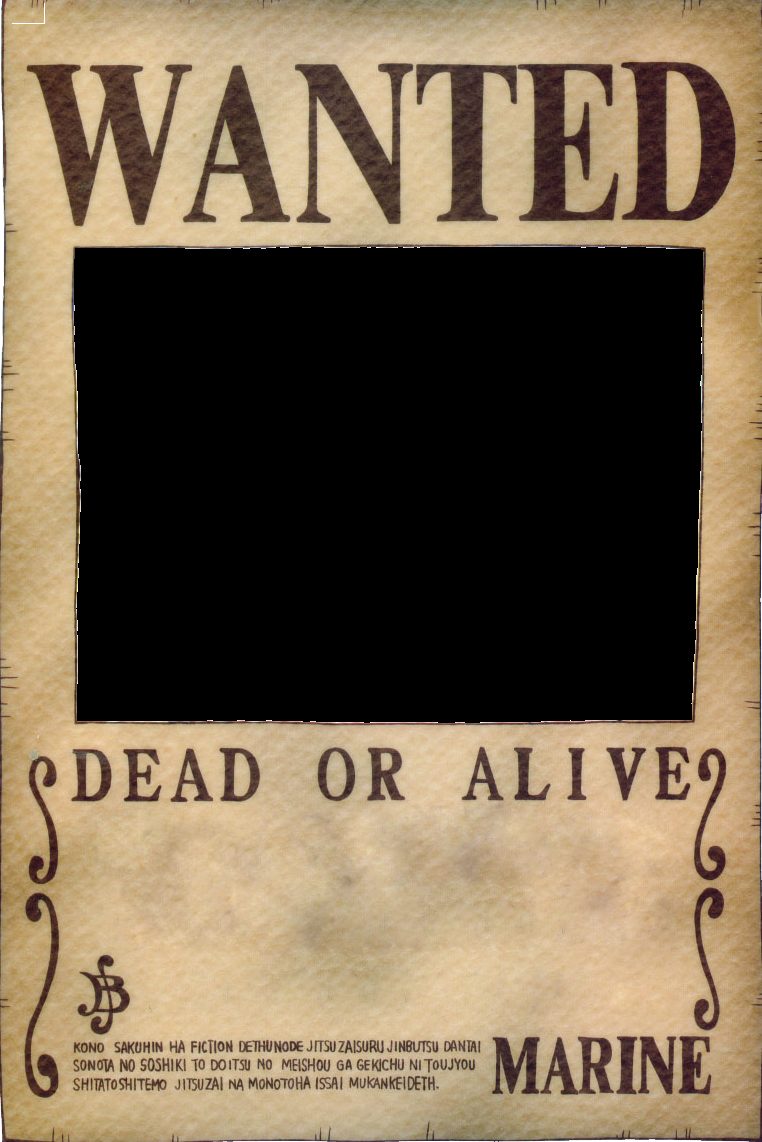
Looked up Chopper’s bounty poster and sketched it. Noodle arms messed up big time – his antlers looked like broccoli. Scrapped that paper. Cheated by printing the face instead. Traced over it with marker while cursing shaky hands. Pro tip: cheap tracing paper = game changer for drawing-phobic folks.
Step 3: Fake Paper Struggle
Tried making parchment with coffee stains. Splashed half the mug on the counter – looks like poop stains now. Dried it with hairdryer and accidentally toasted one corner brown. Said screw it – distressed = authentic pirate wear and tear.
Step 4: Cutting Corners Literally
Measured border with ruler… then measurements went out the window. Scissored jagged edges like a toddler. Glued the toasted paper onto cardboard backing while my dog tried eating the scissors. Final product: Crooked borders, semi-toasted paper, wonky Chopper face. Perfection.
What Went Nuts
- Used instant coffee – weak stains need triple-dipping
- Watercolor bled outside lines (now called “artistic effect”)
- Cat hair stuck in glue – bonus texture!
End result: Looks like some East Blue rookie made it… which totally matches One Piece energy! Stick figures? Smudges? Call it “character development”.