Alright folks, buckle up for today’s project – putting on those snazzy wheel skins! Got mine cheap online last week, figured it’d take 15 minutes per wheel. Boy was that off the mark!
The Unboxing Disaster
Ripped open the package expecting foam padding or something. Nah. Just four flimsy plastic covers rattling around loose with eight little screws bouncing everywhere. Already sweating when I saw the instructions were pictograms – like IKEA manuals but worse.
Tool Time Surprises
Thought I only needed a screwdriver. Ha! Realized fast I was missing three things:
- Rubbing alcohol for cleaning
- Microfiber cloths
- Needle-nose pliers (more on that later)
Had to raid the medicine cabinet and borrow my neighbor’s pliers. Smooth.

The Battle Begins
Started with the front passenger wheel cause it looked easiest. Jacked up the car, took off the wheel and did the whole cleaning routine with alcohol. Felt like prepping for surgery.
Tried lining up the skin – wouldn’t sit flush. Turns out I had brake dust caked in crevices the alcohol didn’t touch. Used an old toothbrush to scrub that gunk out. Took three tries before the skin finally clicked into place.
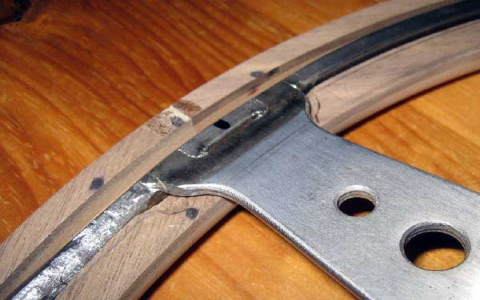
Then came the screws. Tiny little buggers kept falling between the spokes. Spent 10 minutes on my knees in the driveway hunting for one under the car. That’s when the needle-nose pliers became MVP for fishing it out.
Pro-Tip Disaster
YouTube tutorials say “apply even pressure when screwing.” Mine went in crooked on the second wheel. Now the screw head was stripped and stuck halfway. Had to drill it out and start over with a new hole. Made a mental note to add “spare drill bits” to the tool list.
Final Showdown
Last wheel I finally got smart:
- Put all screws in a cup so they couldn’t escape
- Used the pliers to position each screw
- Turned slow like tightening a watch battery
Took under 8 minutes. Should’ve done this from the start!
End result? Looks slick from 10 feet away. Up close you can see where I messed up that one screw hole. Total time: two hours instead of one, $5 in ruined drill bits, and one decently bruised ego. Next time I’m paying the shop $20.