Okay so my Xbox Series S looked boring as heck, plain white like every other one. Bought this killer dragon skin online, all shiny red and black. Looked awesome in the picture. But man, I’ve messed up skins before. Ended up with bubbles that looked like blisters and wrinkles like an old shirt. Not this time!
Diving In Blind (Mostly)
First, I cleared my coffee table. Seriously, don’t try this on a messy desk. Gathered my tools: the skin kit, obviously. Also grabbed some rubbing alcohol (the high strength kind), a microfiber cloth, a hair dryer, and my trusty old credit card – wasn’t using it for shopping today! Unboxed the skin. Thin plastic, sticky side covered with a big paper backing. Felt kinda cheap, but hey, expensive “plastic junk” is still plastic.
Super Cleaning is Key
Figured the Xbox shell was clean? Nope. Blew off dust with my mouth like an idiot – shoulda used compressed air. Wiped it down hard with the cloth and a LOT of rubbing alcohol. Like, soaked the cloth. Rub, rub, rub until that sucker squeaked. Left no fingerprints behind. Zero grease is the goal!
The Nerve-Wracking Peel
Placed the big front panel skin roughly where I wanted it, still with backing. Then carefully peeled off a corner of the backing paper. Held my breath. Started aligning the top edge perfectly with the console’s edge. Used my fingernail to press it down lightly as I peeled back more backing with my other hand. Slow and steady wins the race! Peeled about two inches, pressed it down. Peeled another two inches, pressed it down. Repeat-repeat-repeat. Didn’t dare peel the whole backing off at once – that’s asking for trouble.
Battle of the Bubbles and Wrinkles
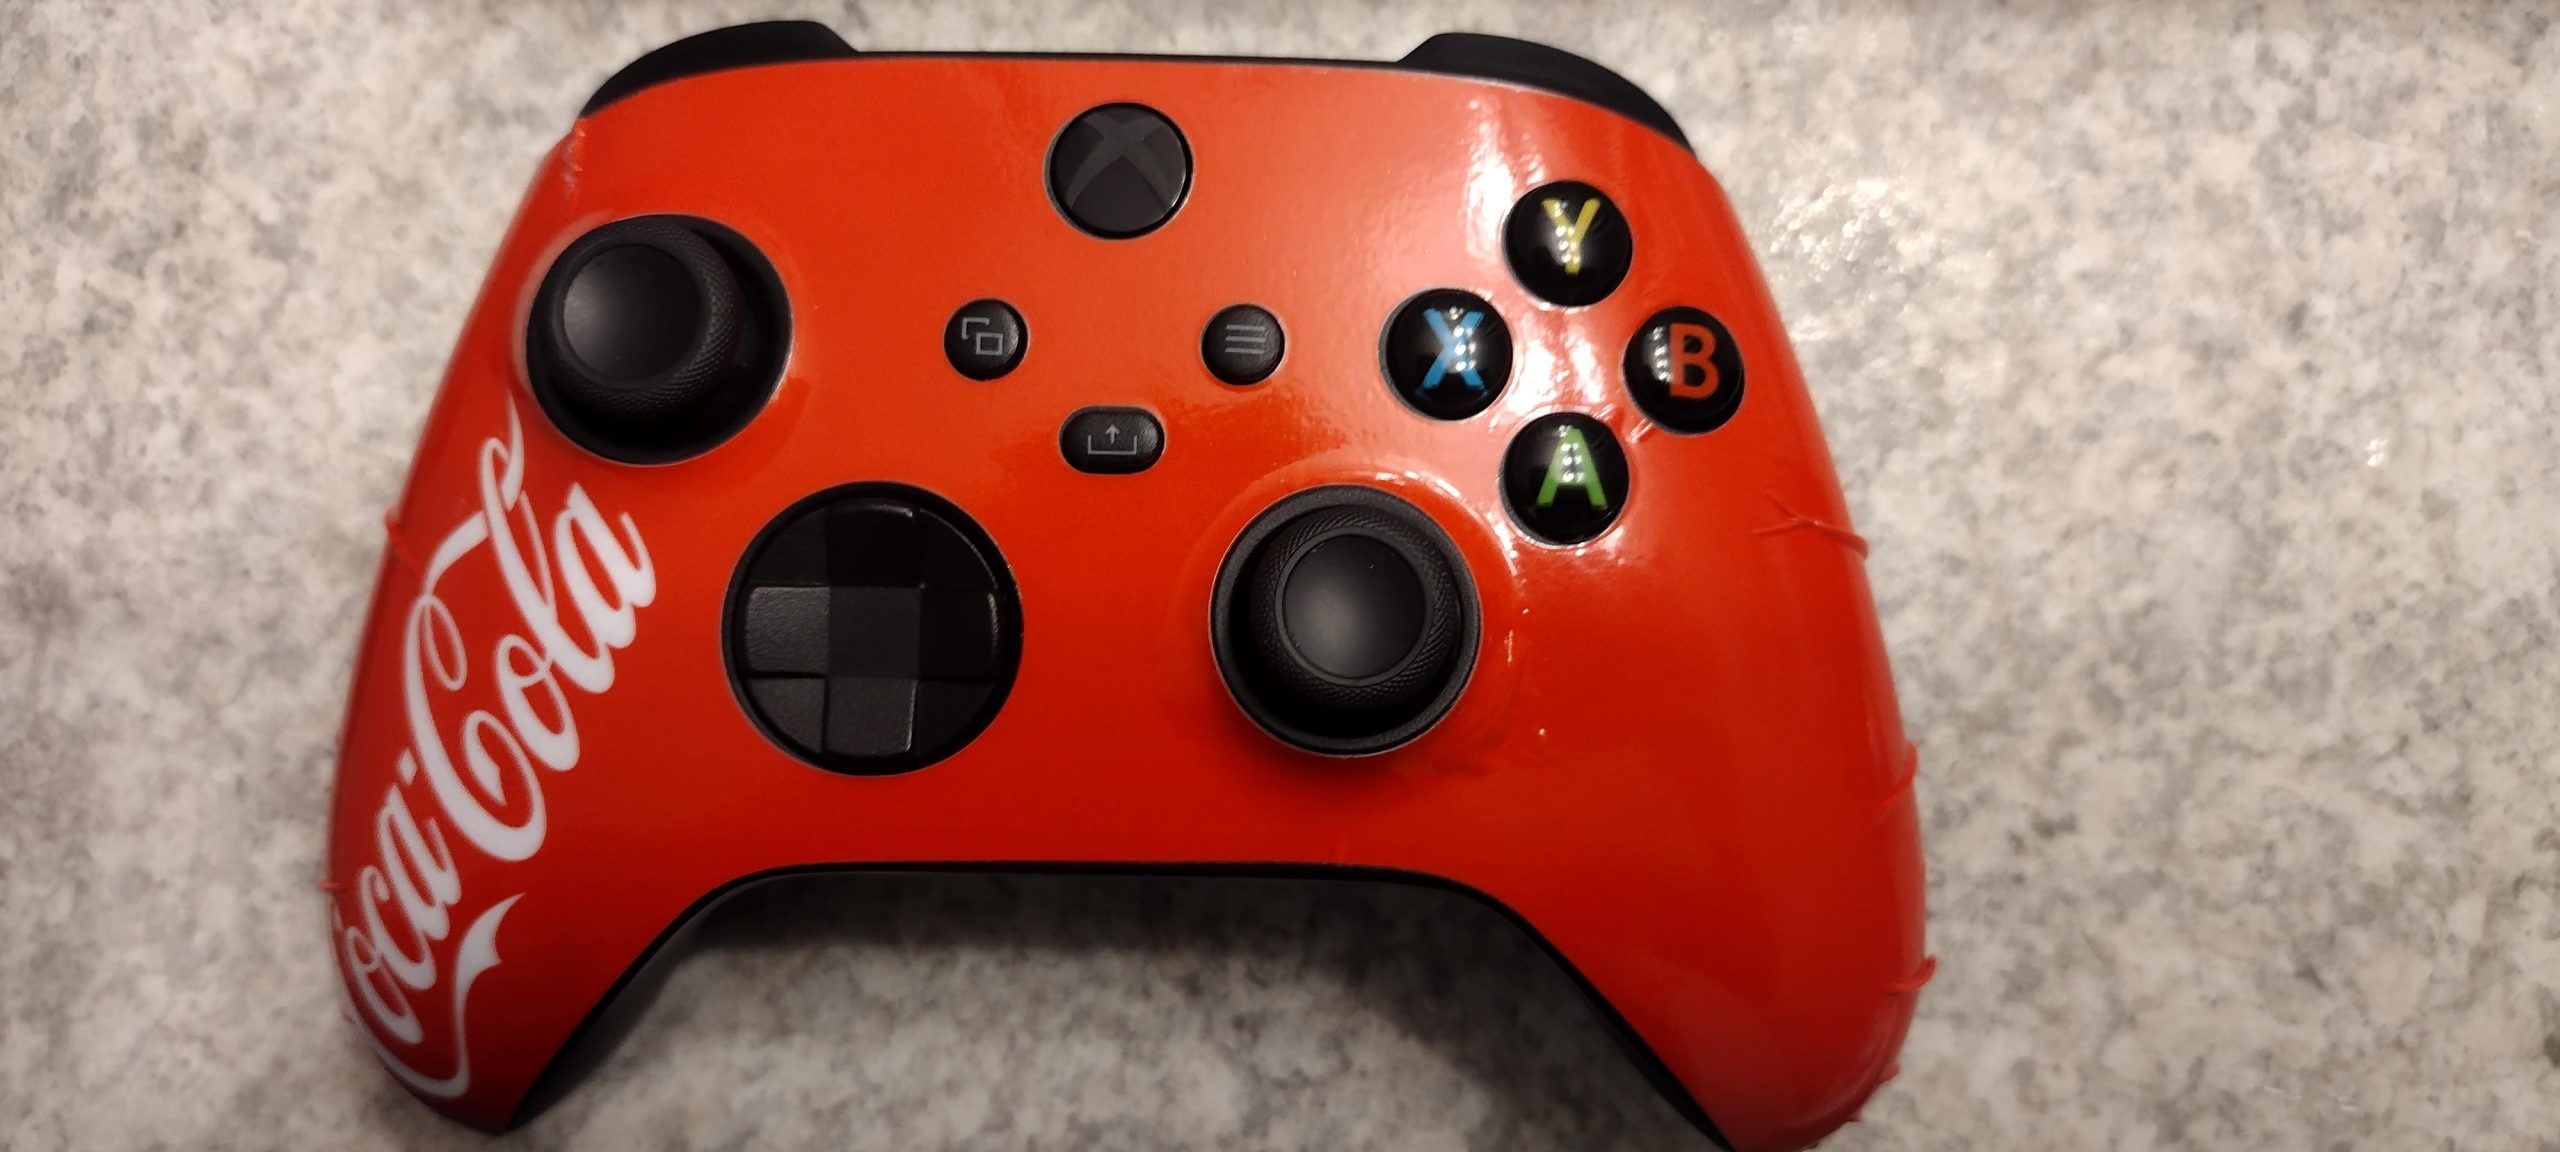
Saw a tiny bubble? Instantly used the credit card edge to shove it out towards the closest edge. Pushed hard, like I was scraping gum off pavement. Noticed a bigger air pocket? Carefully lifted the skin just enough to let the air escape, then shoved it down again with the card. A few spots didn’t sit flat, got janky little wrinkles. Pulled out the hair dryer, hit that wrinkle spot with medium heat for like 5-10 seconds. Skin went soft. Quickly smashed it flat with the credit card edge, holding it down until it cooled. Hair dryer is a lifesaver for vinyl!
Corners and Edges Are Tricky
The Xbox has curves and sharp cuts. Had to work slowly around the fan vents. Used the pointy corner of the credit card to tuck the skin neatly into crevices. The console’s edges needed extra attention. Heated the vinyl slightly with the hairdryer until it was pliable, then used the card to jam it right over the edge. Smooth pressure is everything here. Pressed down hard along every rim.
Front Covered, Feeling Brave
Front panel finally stuck down tight and smooth. Exhaled. Felt good! Moved onto the top piece. Used the same method: peel a bit, align perfectly, press down with card. Peel a bit more, press. Heat stubborn spots and wrinkles. Shove bubbles out like a boss. Worked around the top curve super carefully, heating and pressing.
Final Push – Those Dang Side Panels!
Saved the long, skinny side pieces for last. They were surprisingly tough because you need perfect alignment over distance. Measured twice! Peeled the backing very slowly, maybe an inch at a time, constantly checking the edge alignment and pressing down firmly. A few nasty wrinkles popped up on one side near the back where my finger slipped. Cranked the hairdryer up, heated that vinyl good and soft, lifted it slightly, and worked the wrinkle out with a very targeted shove from the credit card edge. Held it down. Repeat for the other side.
Staring at Success (Mostly)
Plastic junk suddenly looked fierce! Honestly? Took me almost an hour. Hands hurt. Sweating a bit. BUT! No huge bubbles. No major wrinkles. Just one tiny pinhead bubble near a vent I somehow missed, but I ain’t messing with it. Looks killer! Learned patience is everything. Clean like crazy. Heat and plastic card are your best tools. Peel slow, press fast. And breathe. Definitely breathed.
