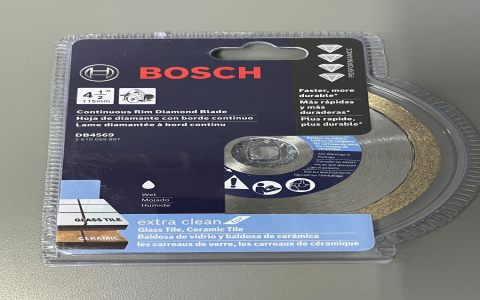
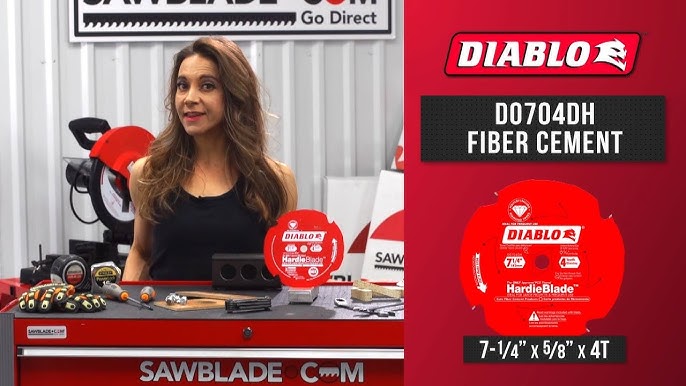
Alright folks, let me walk you through installing those Diablo 7 1/4 blades on my saw today. Real talk, it started when I realized my old blade was duller than a butter knife. Grabbed the package feeling hopeful but slightly intimidated – let’s be real, power tools need respect.
Gearing Up & Taking Safety Seriously
First things first, I unplugged the saw completely. Ain’t nobody got time for surprise startups. Found my wrench set buried under some random junk on the workbench. Pulled out the manual too – dusty, but good for checking which way the teeth should point. Safety glasses? Slapped those on before even thinking about touching the blade.
Getting the Old Blade Off
Flipped the saw over. Saw this big plastic cover hiding the blade guts. Unscrewed it carefully – those little screws always try to escape. Underneath, there’s this funky bolt thing holding the blade (the “arbor nut,” I think they call it). Jammed the wrench on it and gave it a good counter-clockwise shove. Felt it crack loose, then spun it right off. Carefully wiggled the old blade out – nasty looking. Tossed it in the scrap pile.
- Unplugged the saw (NO shortcuts!)
- Found the wrench and manual (prayed I had the right size)
- Popped off the blade guard cover (screws went into a cup so I wouldn’t lose ’em)
- Held the blade still and cranked the arbor nut loose (lefty loosey!)
- Yanked out the old blade (felt like pulling a bad tooth)
Putting the Diablo On
Got the new Diablo blade outta its package. Shiny! Checked the manual one more time to confirm the teeth point down towards the cutting surface. Slid it onto the metal rod sticking out (the arbor), making sure the holes lined up right. Heard it click into place – satisfying. Found that metal washer – flat side goes against the blade. Screwed the arbor nut back on by hand first, tightening clockwise. Stopped halfway to double-check blade direction again. Paranoia pays off, people.
Final Cranking & First Test
Grabbed the wrench again. Really put my weight into it this time – that nut needs to be tight tight, otherwise the blade wobbles like crazy. You wanna feel like you might break it (but you probably won’t). Snapped the plastic guard cover back on, fighting those tiny screws back into their holes. Plugged the cord back in, took a deep breath. Hit the power and let it run empty for a few seconds. Smooth hum, no weird vibration or angry shaking. Big sigh of relief!
Why You Should Trust Me On This
Look, I wouldn’t bother typing this all out if I hadn’t done it myself. Messed it up once a few years back – put the blade on backwards like an absolute goofball. Tried cutting, heard a horrible grinding sound, and nearly launched the piece across the garage. Lesson learned: ALWAYS check the teeth direction. Twice. Ended up with burning smells and a ruined board. Today went smooth because I actually followed the steps – slowly and carefully. Now the Diablo blade sings, cuts through wood like butter, and my finger count remains at ten. Good day’s work.